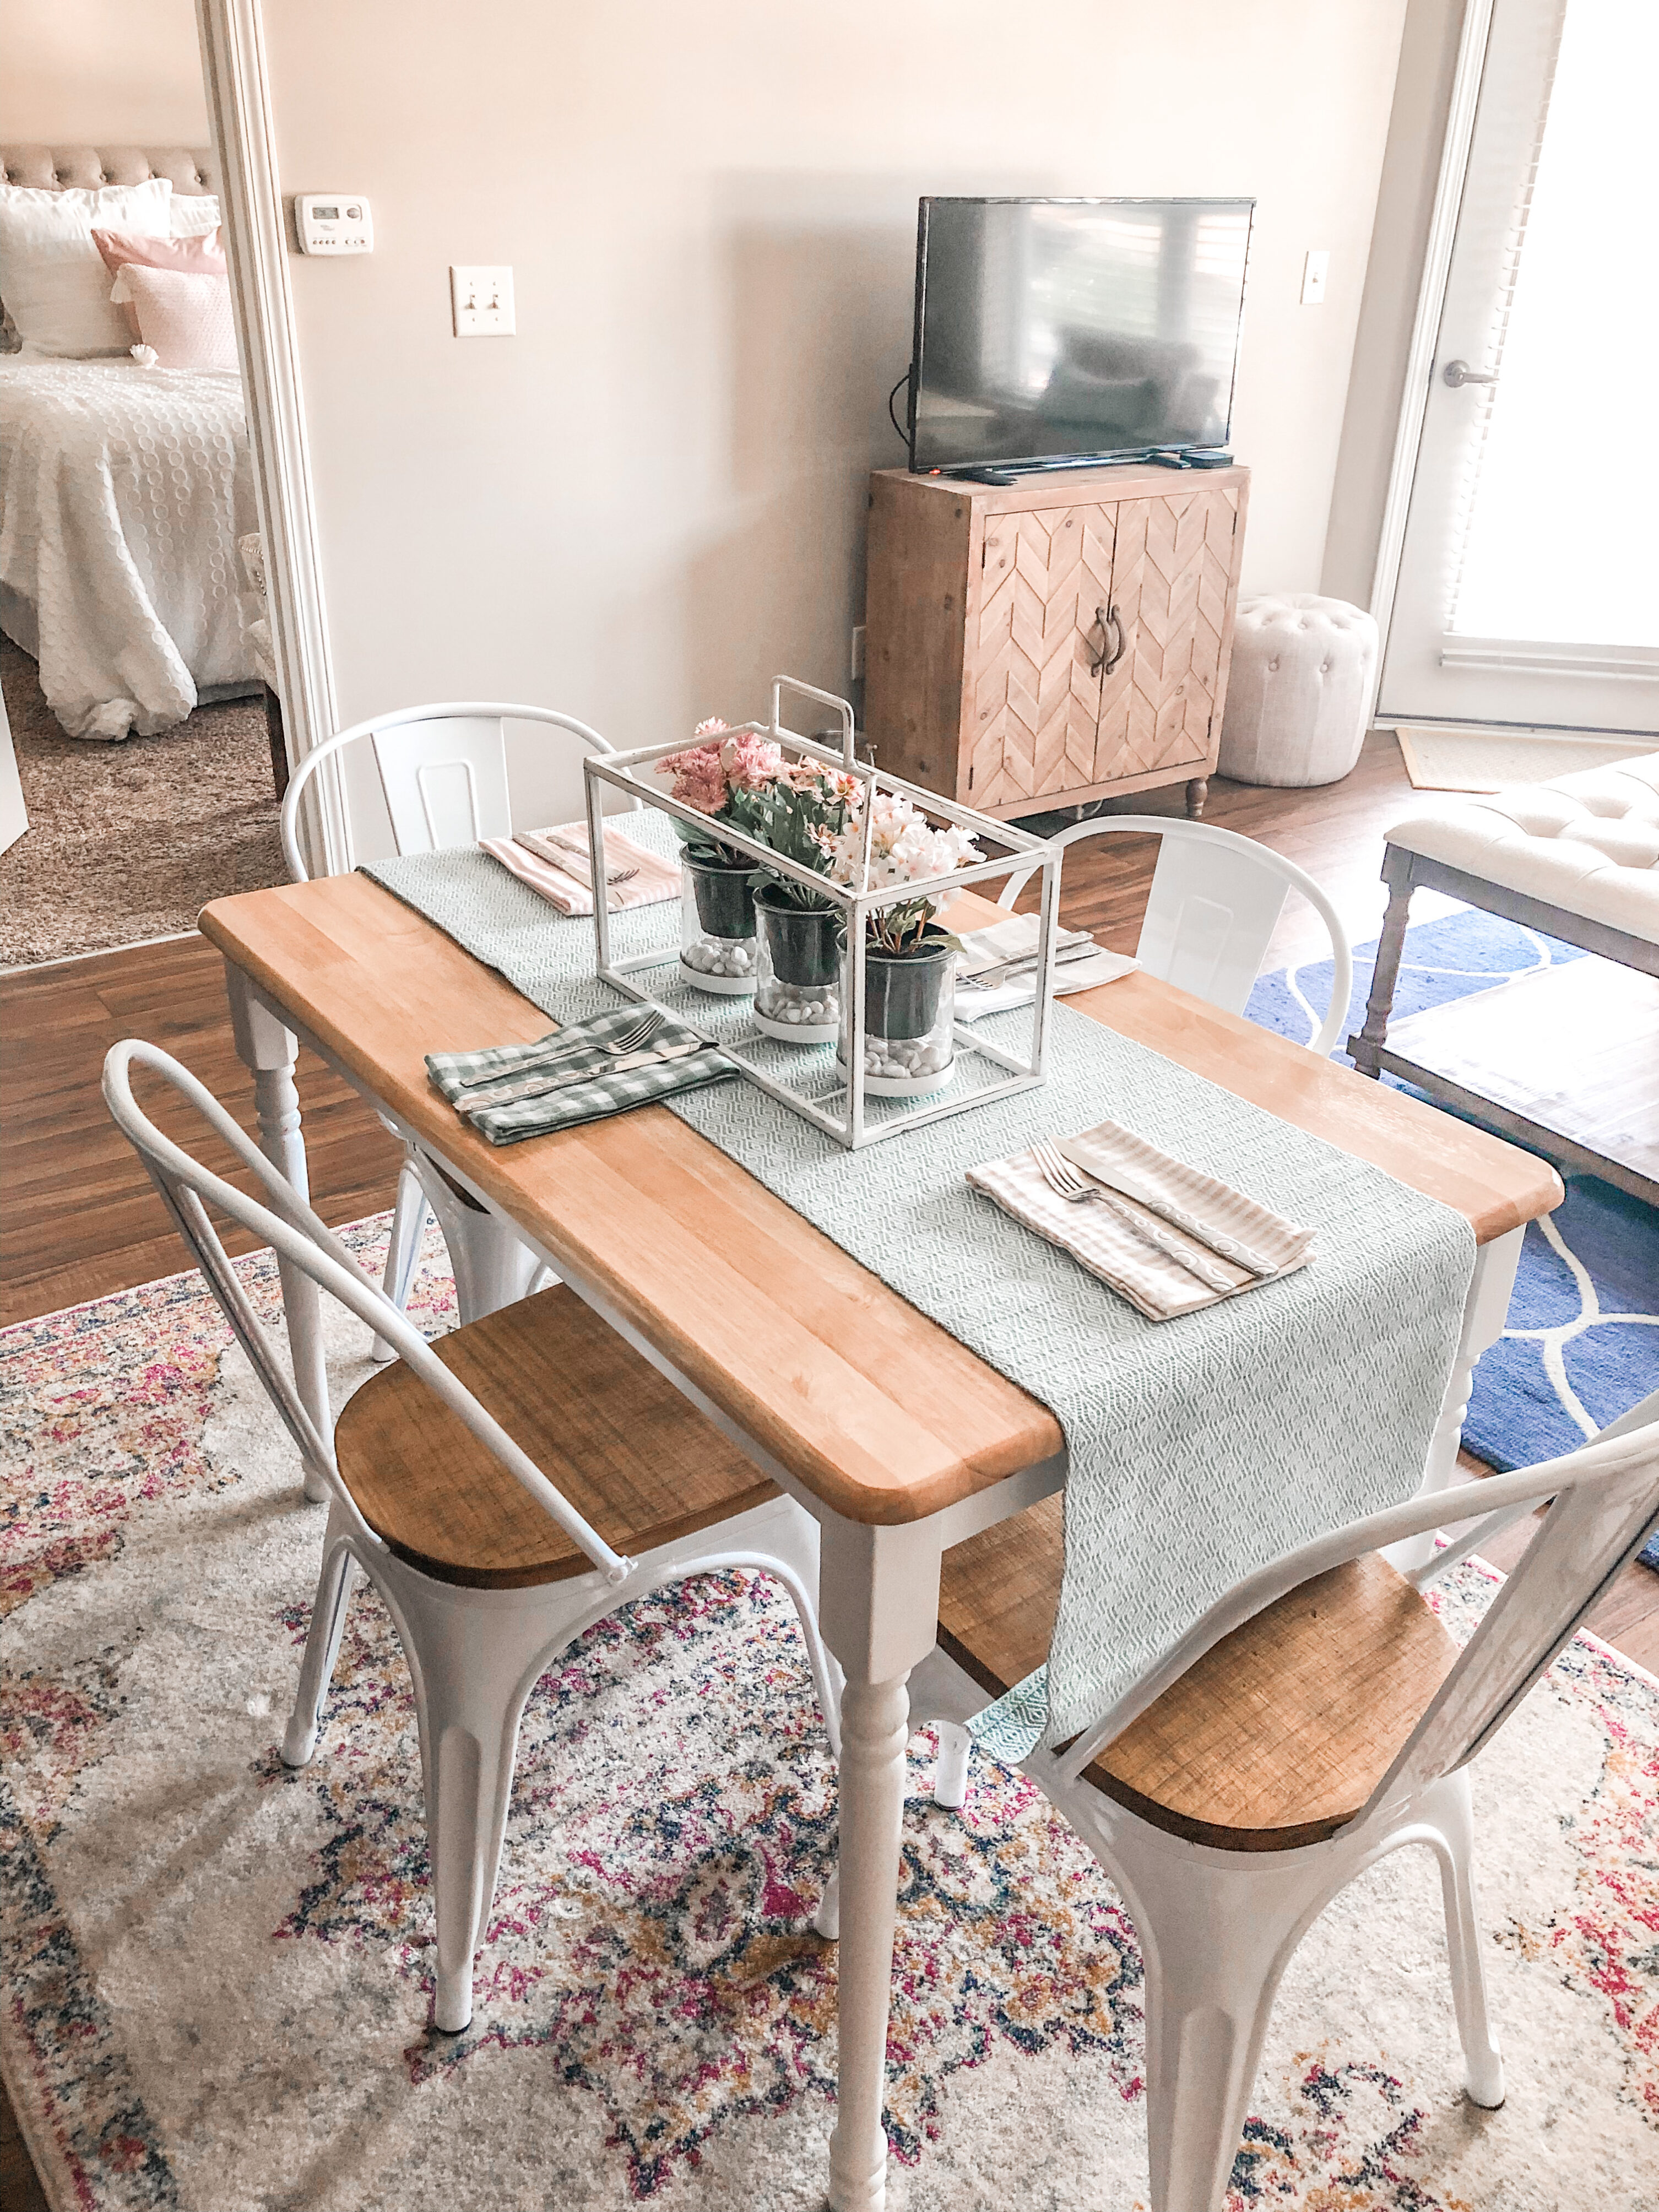
One of my favorite things to do in Kansas City is walk around the West Bottoms on First Friday weekends. I adore the hand-crafted, repurposed, one-of-a-kind treasures that I find. Most of the time I don’t buy anything; I look and get inspired!
However, a few years ago I came across a vintage dresser than I just couldn’t pass up (a glimpse below)! I loved the unique shape and color and the bottom drawer is actually a cedar box! I wondered how difficult it would be to paint my own pieces of furniture, and gradually started painting some small items. Now it’s a hobby of mine!

Here’s what you’ll need:
- Old rags
- Handheld sander & sandpaper
- Gesso Primer
- Chalk paint (I use Rust-oleum)
- Paint brushes/roller brush
- Plastic paint tray
- Finishing wax (clear)
- Tarp (optional)
- New Hardware (optional)
1. Start by sanding. You want to take off the current finish and strip to the natural wood. This is the hardest, most time consuming part of the entire process!
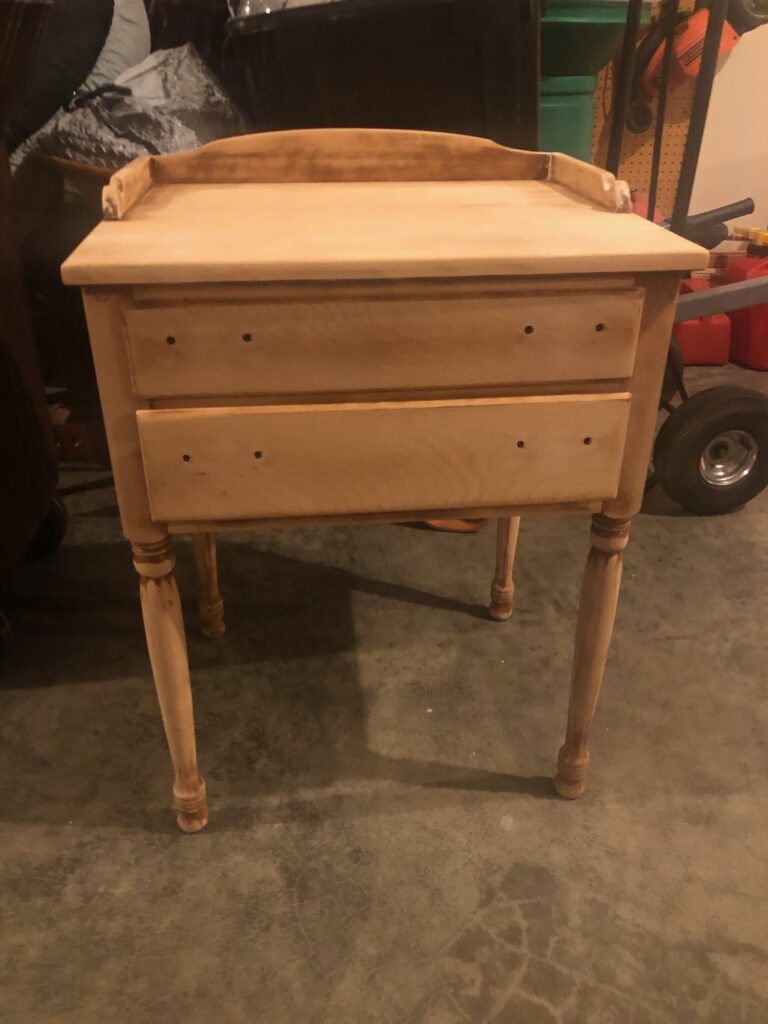
2. Next, you want to wipe off any reside and prepare the wood for the chalk paint and gesso.
3. Once clean, fill in and repair any cracks you see. The wood split in a few places when I sanded down so I had to fill in with wood glue.
4. Water down the white chalk paint. The mixture should be 2 tbsp white chalk paint + 1/4 cup water.
5. Apply the mixture in small sections and then wipe off with an old rag. This gives a white washed finish over the natural wood.
6. Let dry overnight. Then take a small brush and apply the gesso primer in random places. There is no rhyme or reason to this method. I used my fingers to get into the grooves on the legs. I also left some places chunkier to give a plaster look. Let dry.
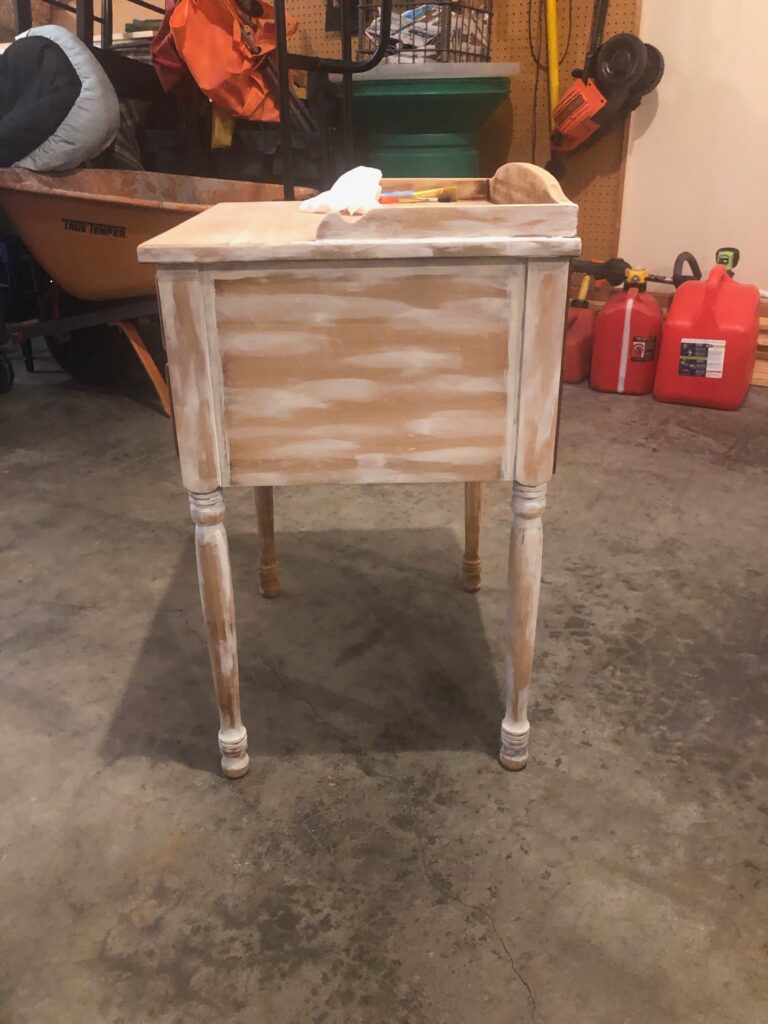
7. Go in with a piece of sandpaper and sand down in places that look too chunky/unfinished.
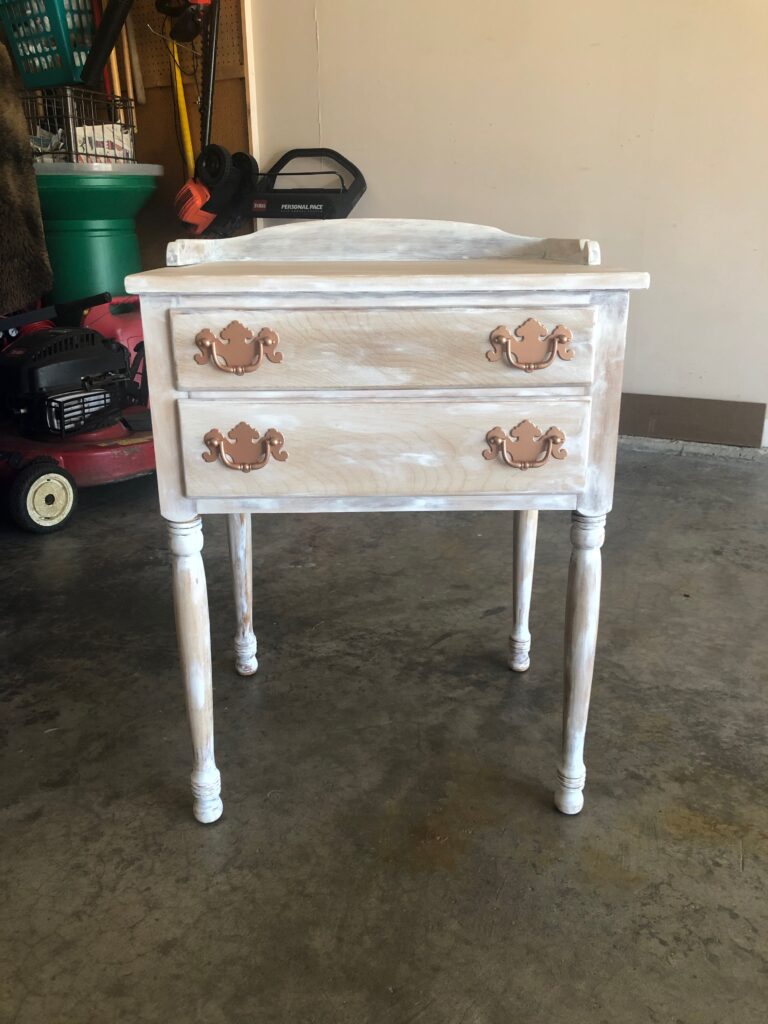
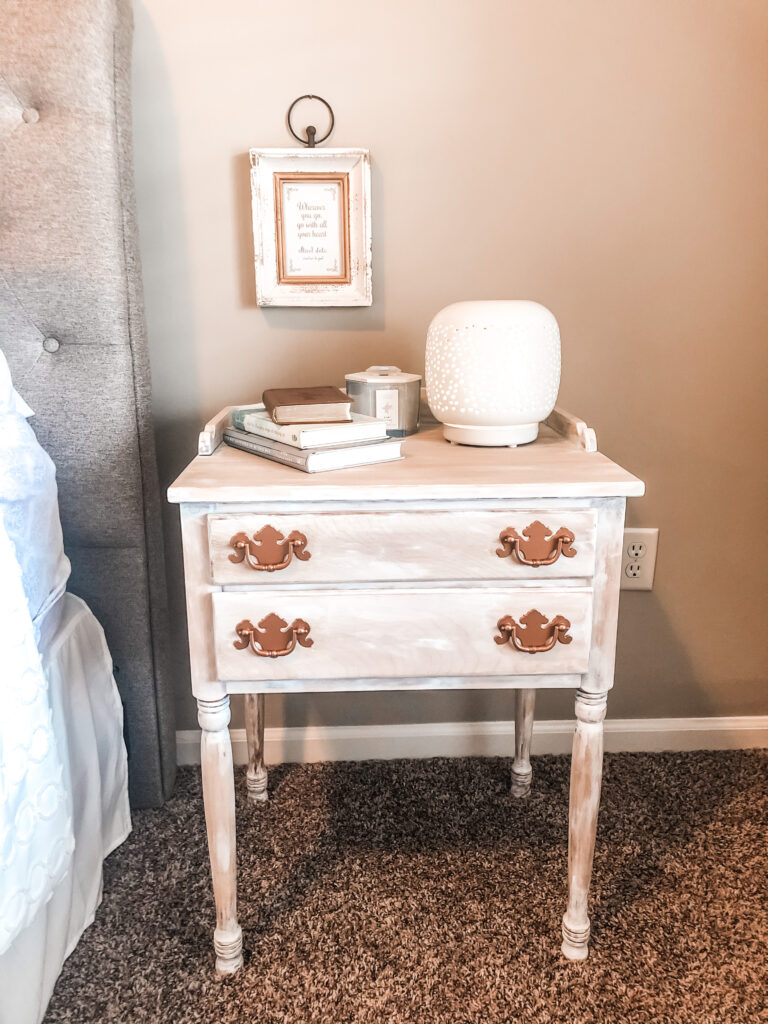
8. I took off the original hardware and spray painted rose gold to complete the look!
Super simple! If I can do it, anyone can!


